|
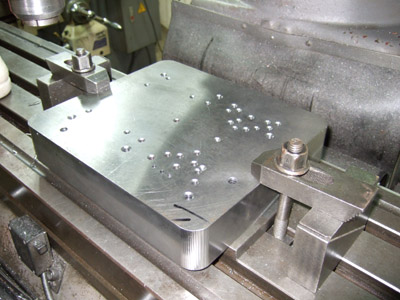
2010-07-23 07:34:57 (3770 views) Both sides have been CNC machined. One side has undergone EDM and the other half is in progress. After EDM is finished it will be sent out to polish. This makes the mold creation process 50% complete.

2010-07-23 03:44:59 (3643 views) A small step for the remote, a giant leap for Male Management!
This may not seem like much of an improvement from previous photographs, but our new remote (shown below) should be resistant to several kilovolts of electrostatic jolts which it will receive at the testing lab. It's all part of the fun process of satisfying international import laws and product safety regulations... and part of the difference between a DIY project and actually releasing a real product that you could buy in a store.
What you see is our very final design and if nothing goes wrong at the lab it is exactly what you will receive when you order this product (except that it may be machine assembled, depending on how assembly plays out in the beginning, this is a bit complex due to cost, bootstrapping and the fact that some components do not have the right packaging to be handled by the machines... we're working on it).
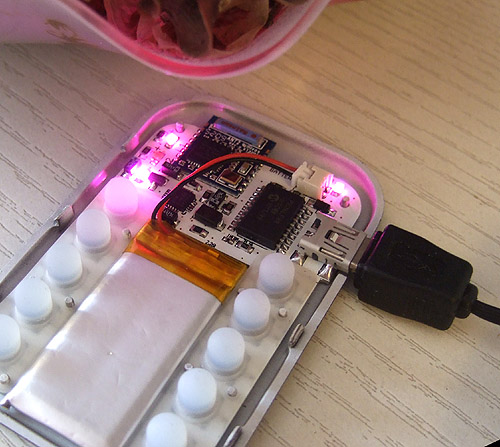
Oh yes, the PCB is finally white which was our target color from the beginning. And - finally - it's 0.8mm in thickness, which means we can actually close the remote's enclosure properly! More pictures when we get the first molded parts....
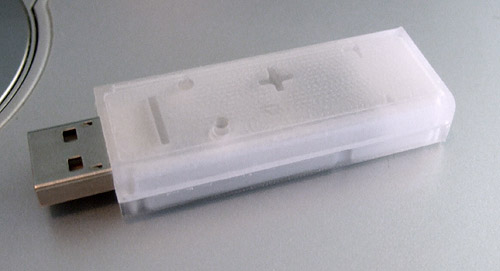
Also: we hadn't reported on the DL2K-LINK's plastic prototype which arrived a few weeks ago. This is machined, and has no label... but it shows the shape. Nothing too exciting here, a normal USB dongle enclosure... however it is our CUSTOM enclosure soon to be manufactured with our mold... and it has a precisely positioned light pipe for the LED to shine through, and a little button which will allow you to reprogram the firmware when updates are released. So we're already quite fond of this little guy which just joined our family :)

2010-07-22 23:01:48 (3559 views) After a 12 day break in Thailand (first mini-vacation in over a year of product development, as we wait for mold CNC, EDM and polishing) we're back in China to finish up the last pending items.
We have already received the new PCBs which include circuitry to neutralize electrostatic discharges (necessary for regulatory compliance).
In the next few days/couple of weeks we must:
- assemble the new PCBs and have 3 samples ready for the final day at the EMC testing lab
- keep working on the motor overmolding - we're still having a few issues but there were some breakthroughs and we may be able to ship with this part included in the product.
- wait a few more days until the mold has been refined and polished, and start making MOLDED plastic enclosures. This allows us to do a final, 100% size, tolerance and waterproofing test. You will also see the real, final product look as opposed to machined plastic parts.
- one set of molded parts will be sent to the people now producing the overlays. The overlays must be a little bit smaller than the recess on the plastic (about 0.2mm) in order to fit. It's not an exact science and we don't want to get into arguments when the overlays don't fit; so to avoid any problems we're sending them plastic parts and letting them adjust the tooling to have a perfect match.
- the molded enclosures will be produced in transparent polycarbonate but we will try to add 3 colors to the plastic material (we were given this limit by the mold manufacturer, because every time the color changes they have to wash the mold which involves moving it with the crane). Presently it seems best results may be given by adding some black, grey or purple tint to the polycarbonate.
- other than mixing dyes to the plastic itself we will again try to spray paint the remote and the DL2K-LINK to find the best looking combination
- we may want to add texture to some of the parts; this requires additional mold post-processing so it would require more time, but hopefully we'll be happy with the results without needing any texture
- the last step is to bring the final product to the EMC lab and do the testing; the hardware cannot be changed after this step so we're keeping it for last. It will take only one day.
We also have a few pending to-dos, such as finding a box to ship the product in and finding some custom elastic waist bands - but these are low priority because they're components that we can add to the product later, as we know everyone's anxious to get it as soon as possible.
As we move forward we're having the usual problems/misunderstandings and unforeseen expenses! For instance, the bank refused to accept some of our documents to open the account and we need to do more certifications. People are changing prices on us (as always).
But we're getting these issues solved so at this point it would not be very surprising if we were shipping products within a month or so.

2010-07-14 08:24:30 (6093 views) The mold parts have been fully machined! At present the mold cavities are just missing all the fine details.
The next step is EDM (electric discharge machining). Copper electrodes and electricity are used to remove material very precisely. This is what is used to create all the fine details.
After EDM, the mold will be polished. This is another distinct process.
The mold should be finished and ready to be tested by the time we get back to China in 1 week.
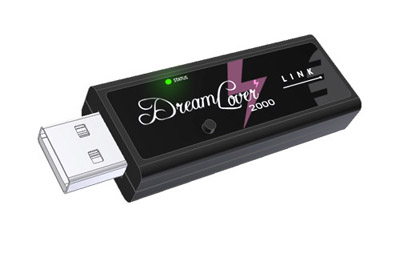
We also have the DL2K-LINK overlays being produced together with the remote overlays (black color).
The final PCBs we will use for EMC testing are being created. These required adding some electrostatic discharge prevention components because part of the compliance tests involve blasting the boards with thousands of volts of static electricity. It was a simple change but we now have so many components on the remote (for battery charging and so forth) that it required some tricky hand-rerouting.
All is being set up for us to return to china, get the boards, assemble 3 samples and go to the EMC lab hopefully within 7 days. At the same time we will be experimenting with molded parts styles and colors.

2010-07-02 11:06:54 (10149 views) We have been working with press molds (for the rubber parts) for a few months, but now our first injection mold is being prepared. This is also our first experience ever with injection mold design.
Finally we have understood the reasons behind the very high tooling costs. The mold is very big and heavy (it's made of steel), and a crane must be used to move it around. The part below is just a portion of the mold.
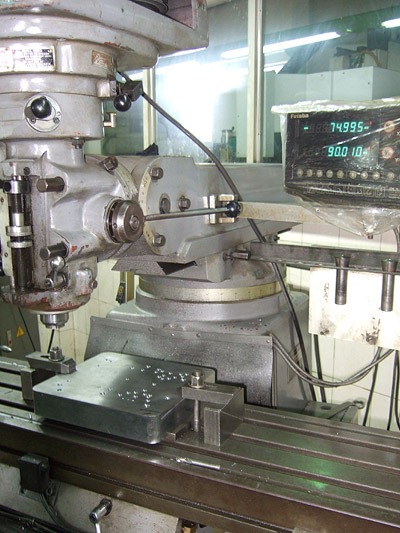
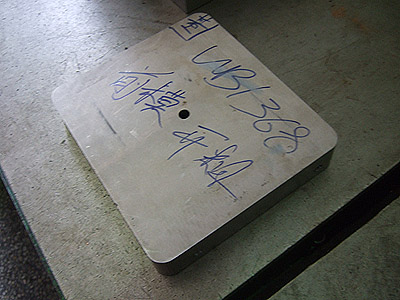
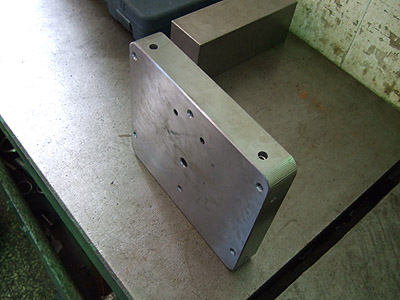
Here's how the parts are positioned. You can see the receiver, remote control and the DL2K-LINK.
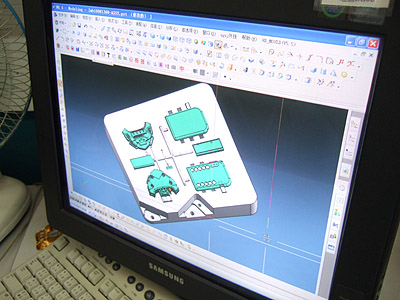
The receiver's holes are undercuts. A sliding mechanism must be used to produce these holes. Many more moving pistons must be precisely oriented in order to push the plastic out of the mold from the bottom when the plastic has solidified.
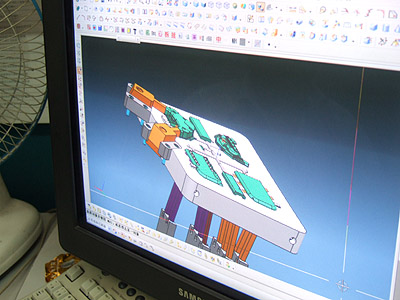
The mold is really not a static piece of metal but a robotic system including many big steel moving parts. Most of which are completely custom.
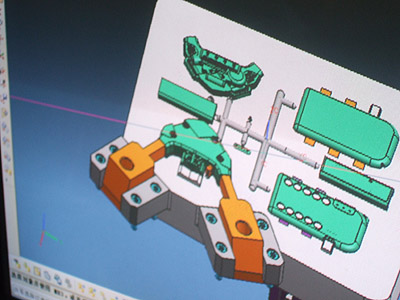
Hand positioned parts (inserts) for our problematic third hole for the arousal inducer (not enough space there for a sliding part)
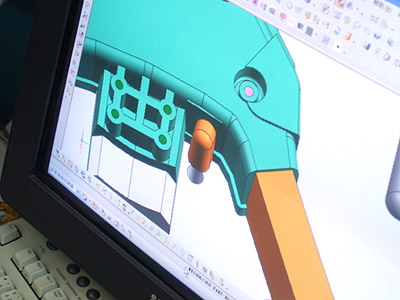
Then... because we've asked Jason to overmold the brass inserts to allow you to open and close the receiver an unlimited number of times, these must be positioned manually (not shown), and material flow must be planned so that inserts are not displaced.
Another two views of the undercuts:
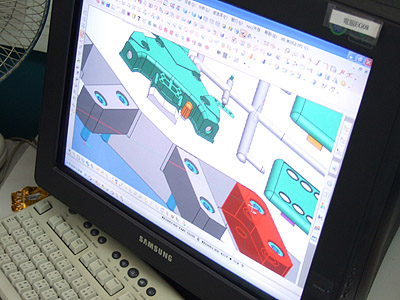
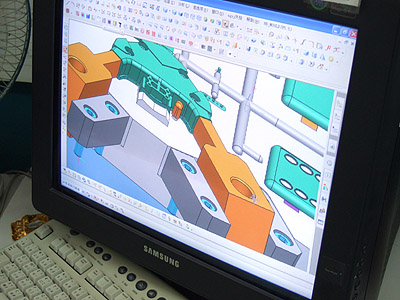
This is the whole bottom part of the injection mold.
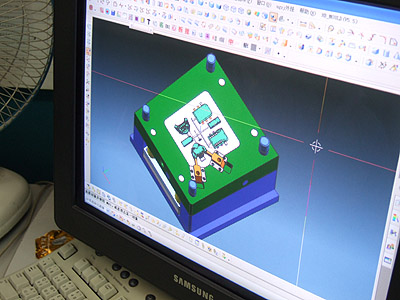
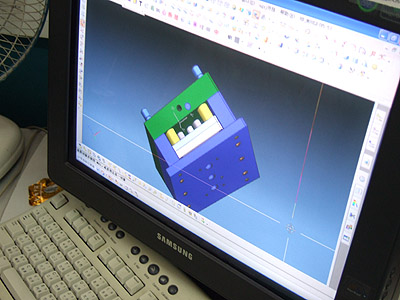
The mold includes a cooling system (shown in blue).
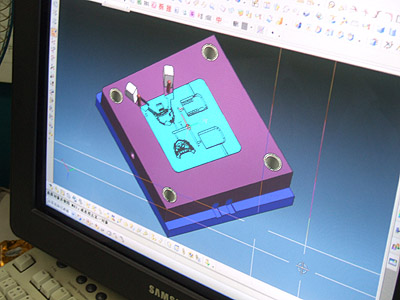
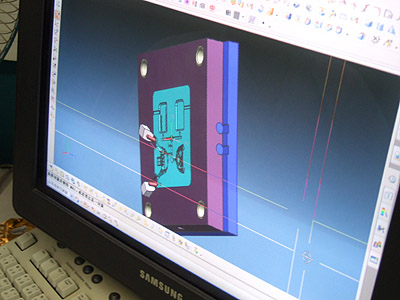
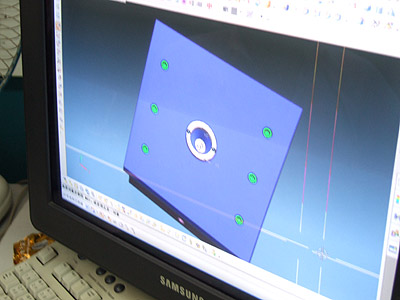
Our mold's construction plans are already being passed back and forth between engineers who're studying them like a bank's floorplan.
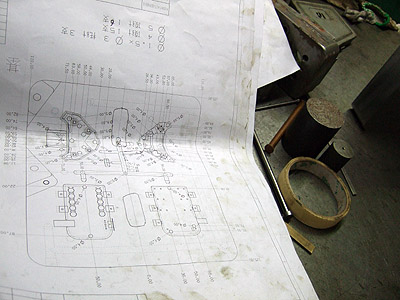
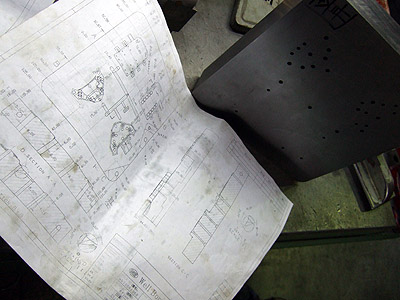
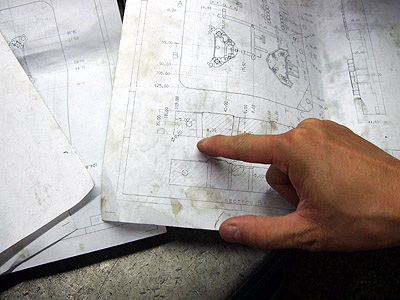
The drawings are getting a bit messy with all this oil but the finished parts will be perfectly smooth and squeaky clean. It will be a big improvement from the machined parts you've seen so far!!
That's it. This is the result of two years of work and effort, and we're so excited to see it all coming to life before our eyes. We're also relieved to see that we're really getting our tooling money's worth! The mold wasn't just a piece of steel with some holes into which plastic is poured like molasses, as we previously naively thought as we cursed injection molding factories for their "insane" fees. No wonder tooling fees are high... they're building us a little steel robot here with lots of moving parts, precisely designed with fluid dynamics, cooling and who knows what else in mind - and it's so heavy they need a crane just to move it around! :)
Is this cool or what?

2010-07-01 04:05:31 (9929 views) The remote control overlays will be ready within 10 working days and we will be able to showcase the ultimate remote control look.
 |


